Getting started
Creating your hero.
You begin by picking one of four base classes: Warrior, Mage, Ranger or Herbalist. The class you choose changes your hand not only in combat but in front of the questions as well — each class has a skill of its own, and that skill reaches straight into the question.
Next you set your hero's gender and appearance. Your name is unique in the game: no one else can carry the name you take.
You can keep more than one hero on the same account. Each of them carries its own level, equipment and progress separately.
Energy
What an adventure costs.
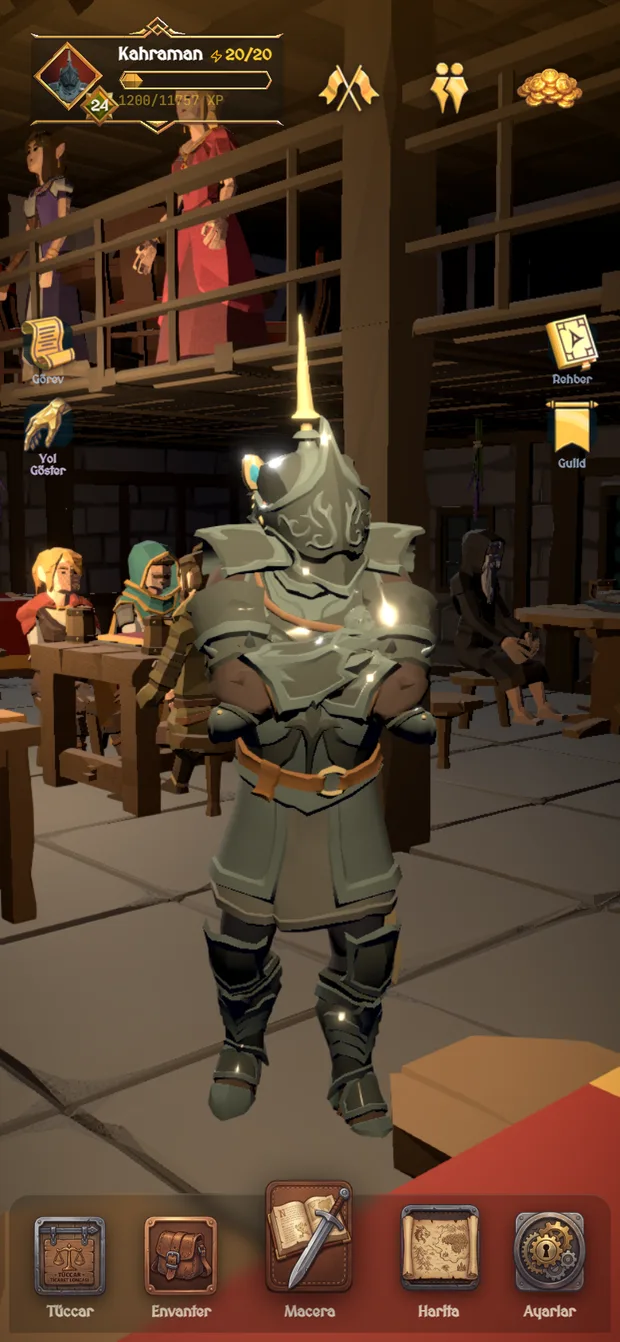
Descending into the dungeon and setting out to explore both cost energy. Energy refills on its own over time; it keeps filling even while you are away.
| Mode | Energy |
|---|---|
| Dungeon | 3 |
| Exploration | 5 |
| Raid | Free |
If you enter a mode and leave without choosing a category, your energy is given back. But if you leave after the run has started, the energy is spent — running away is a decision too.
Questions
Your sword and your shield are both what you know.
The whole game is built on questions. You bring down every monster you meet with knowledge: a right answer is a blow, a wrong answer is the wound you take.
The questions come from ten different universes — from epic fantasy to distant galaxies, from comic-book heroes to war-torn worlds. You choose which universe the questions will come from as the run begins.
Difficulty
Questions fall into four tiers: easy, medium, hard and very hard. In the dungeon the questions get harder as you go; in exploration the die you roll before each encounter sets the difficulty.
The clock
Every question has a time limit, and the clock does not stop. If it runs out, you are counted as having missed the answer. In the dungeon, leaving three questions in a row unanswered ends the run.
You can report it with the flag button next to the question. Reported questions get reviewed; they are corrected where needed, or pulled from the pool.
Dungeon
A straight road with a boss at the end of it.
The dungeon is a run of questions, plain and direct. You pick your category, move down the corridor, and take on the monsters one after another. Two minibosses wait along the way and a final boss at the end.
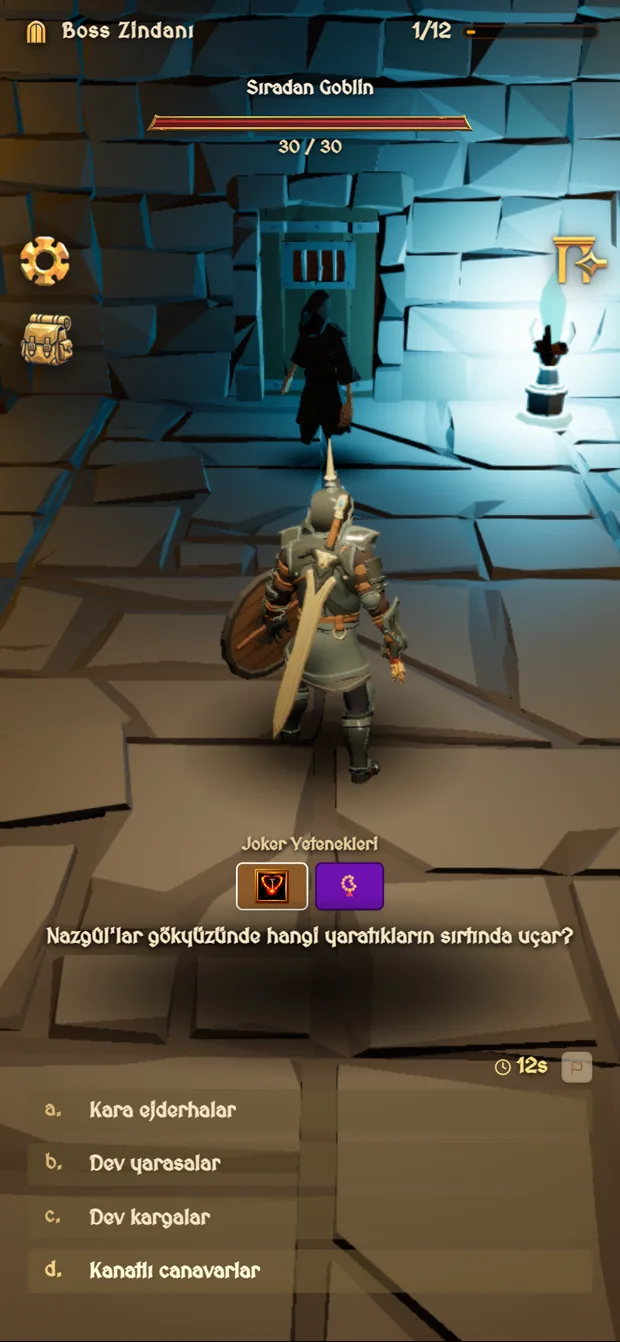
A wrong answer costs you health. If your health runs out, the run ends there and everything you gathered in it is lost.
Layout
A dungeon is twelve rooms. A miniboss waits in the fourth and the eighth room; each one you bring down improves the loot of the floors ahead. The final boss in the twelfth room does not fall to a single answer — it takes several right answers to beat.
The reward
When you finish the run, a reward chest opens. The quality of the chest depends on how cleanly you got through: the fewer mistakes, the better the loot. The monsters and bosses you defeat on the way can also drop the materials used in crafting.
Exploration
The further you go, the more you win — and the more you can lose.
Exploration is the game's risk mode. A branching map lies ahead of you, and on every floor you choose which room to enter. The deeper you go, the richer the loot; but you carry everything you collect in your sack, and the sack is only yours if you get out alive.
At the end of every floor you make a choice: leave safely and lock in what is in your sack, or press on and ask for more. If you die, everything in the sack stays behind.
Rooms
| Room | What happens |
|---|---|
| Monster Fight | A question duel with a monster. Win and you take the loot. |
| Boss Fight | The floor's toughest encounter: it takes two right answers. Lose and you are thrown back a few floors. |
| Loot Chest | Several chests are placed before you and you pick one. |
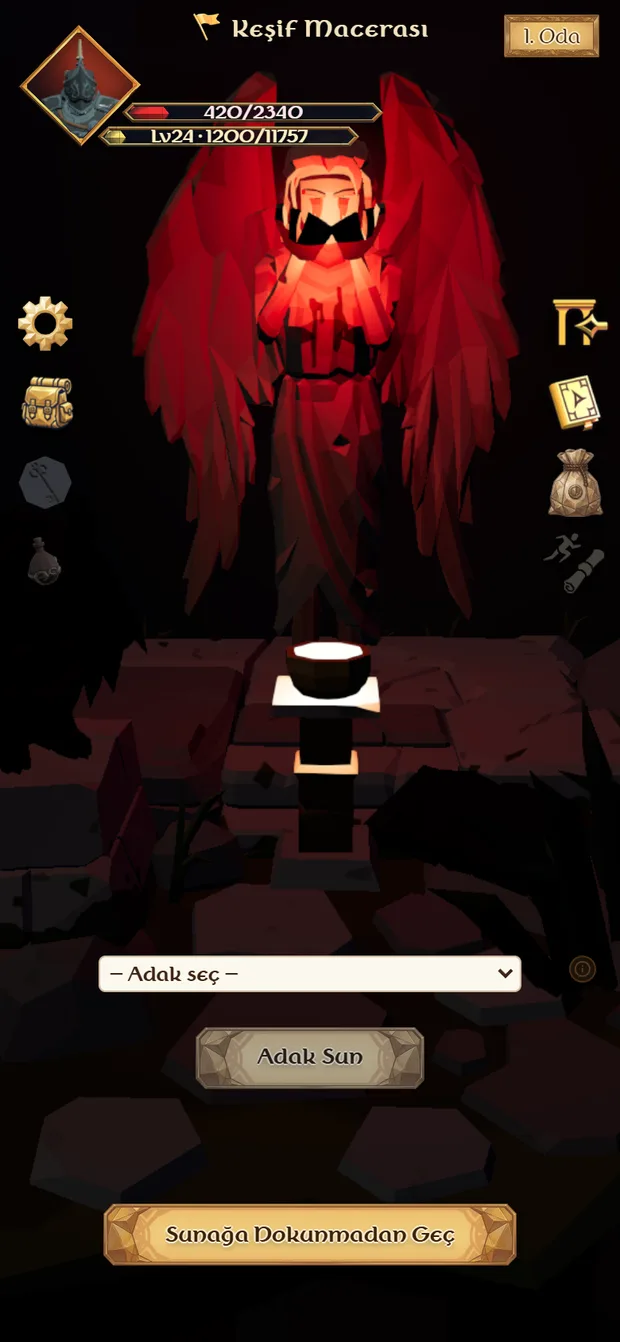
| Shrine | You make an offering and receive a new item in return. |
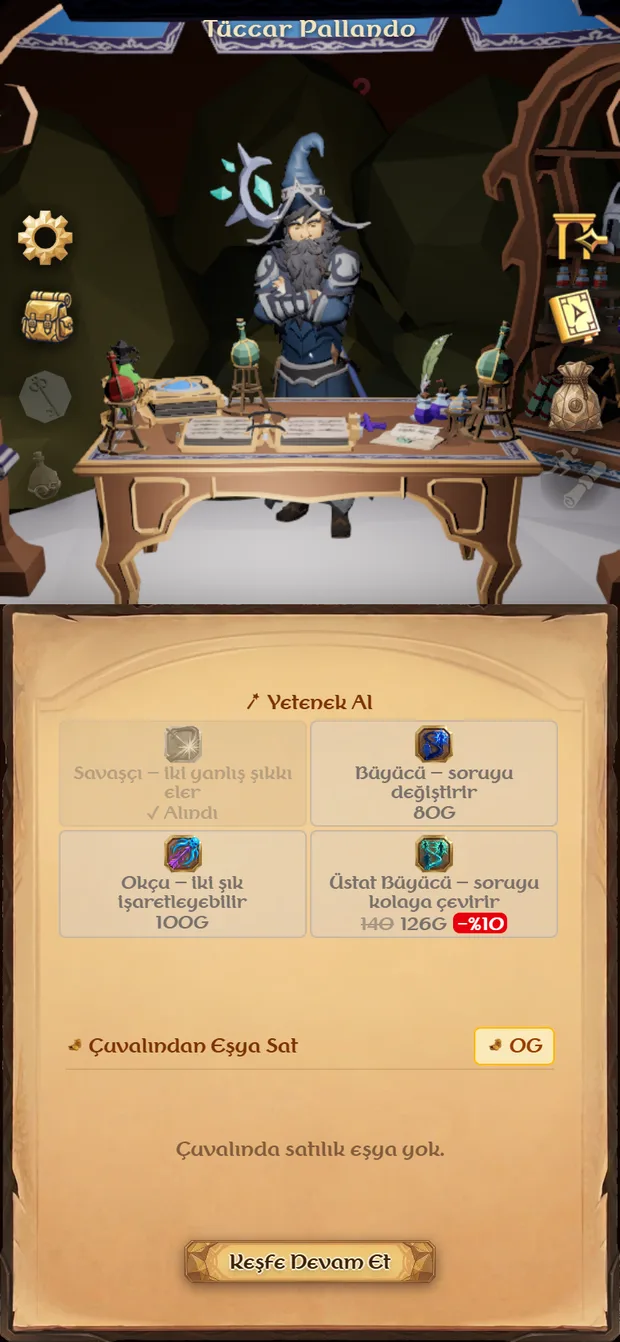
| Skill Trader | You buy skills and consumable items with silver. |
| Duel | You fight against the trace of another adventurer. |
| Empty Room | A moment to breathe — but you have spent a floor on it. |
| Blessing Room | You choose one of three blessings; it lasts 5 or 10 rooms. You can carry up to four blessings at once. |
| Escape Room | An unexpected chance to get out. |
The die
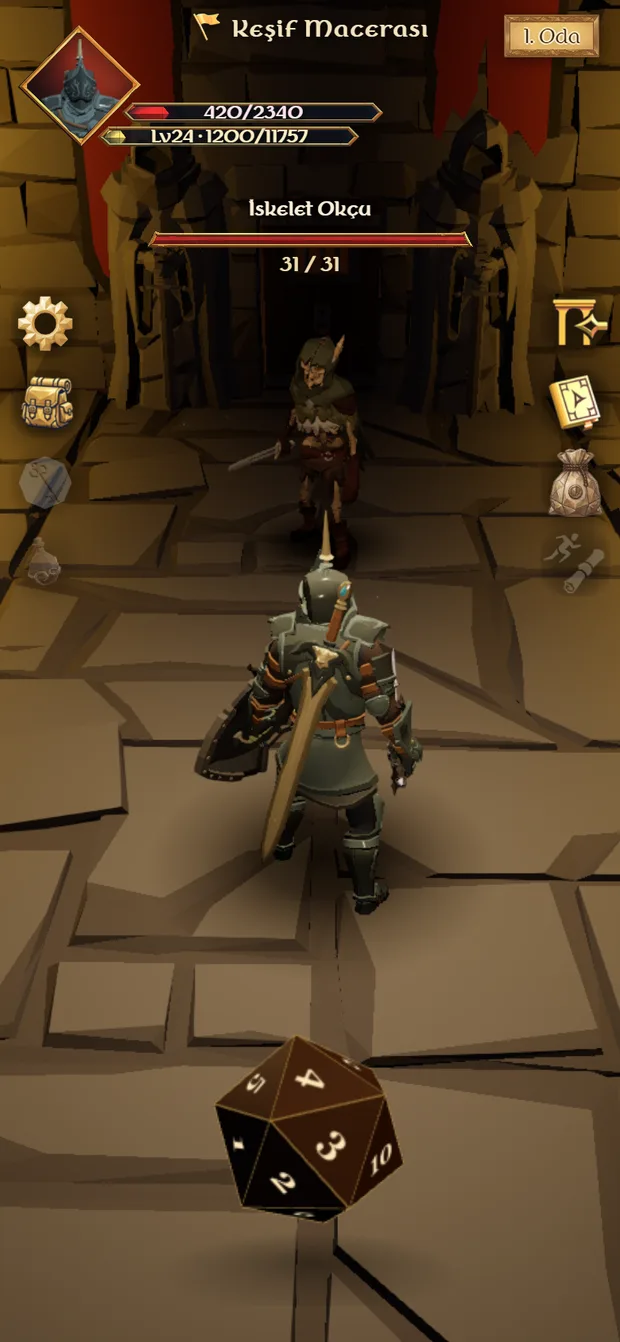
You roll a die before every encounter, and the die decides how hard the question will be. You throw it across the screen; when it comes to rest, its colour and its face tell you what kind of question you are about to face. The bands shift as you go deeper — the same number means one thing on an upper floor and something else further down.
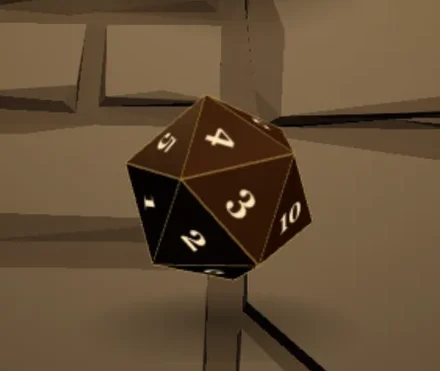
The die's highest face is a special result: no question is asked at all and you go straight through to a loot room.
The Escape Room
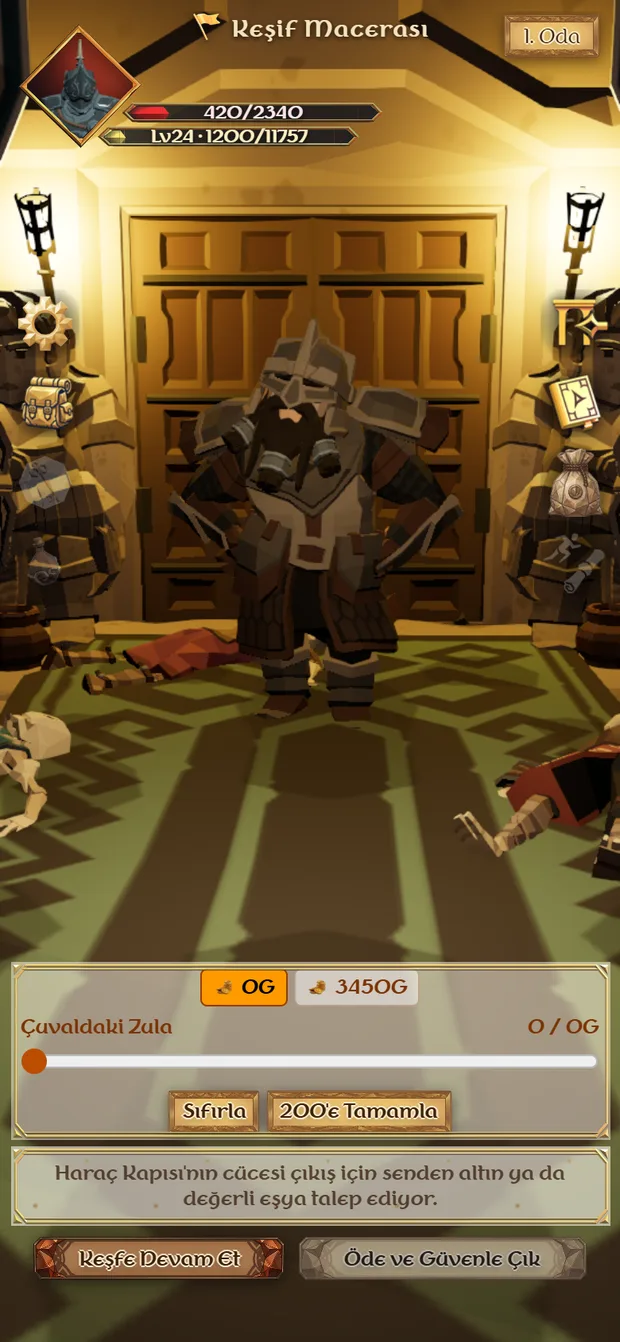
A room that does not appear on the map and turns up on its own. There are three kinds: one demands a toll (you pay out of your sack), one asks a question, and one is free. To open the door you need a key of that kind; keys drop from fights.
You are free to turn the exit down — in that case you carry on exploring from where you left off.
Deadly depths
Past the fortieth floor the rules turn harsh: losing to a boss no longer throws you back, it means death. At this depth raiders may also ambush you. An ambush has no questions, only a dice fight: the green die sets your blow, the blue die your shield, and shields stack up. Raiders grow stronger with your level, and there is no fleeing an ambush.
 The sack
Everything you pick up during a run piles into your sack, and the sack has a limit. When it fills, you either sell something or leave the new loot behind. If you come across a trader you can sell what is in the sack and turn it into silver.
You can flee from the map whenever you like, but fleeing saves only half of your items; experience and silver stay behind. To keep everything, find an escape room or use an Escape Scroll.
Raid
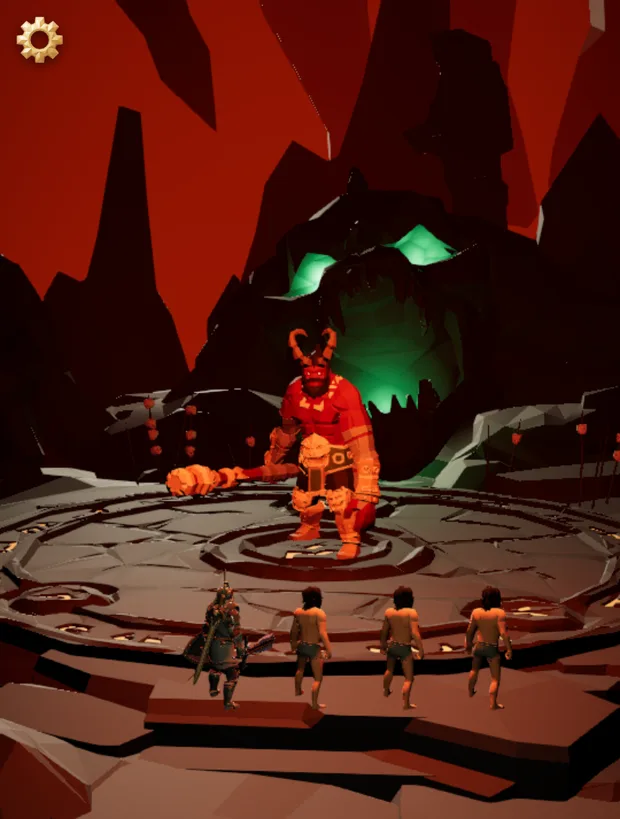
Four adventurers, one boss, shared questions.
The raid is the game's co-operative mode. A party of four is formed and everyone sees the same question at the same moment. It costs no energy.
How it works
- Category vote — the party decides together which universe the questions will come from.
- Answer vote — the question arrives and everyone marks an option. The option with the most votes counts as the party's answer.
- The blow — if the answer is right the boss takes damage; if it is wrong the boss strikes the party.
- Rage turn — at set intervals the boss attacks no matter what, even on a correct answer.
- The timer — the boss also strikes any player who does not vote in time.
- Death — a player who runs out of health becomes a spectator, but the party fights on. Some classes can raise the fallen.
Not every device loads at the same speed. The first turn does not begin until every member of the party has said Ready.
Loot
When the boss falls, a chest opens and the loot is laid out one piece at a time. For each item you call Need or Pass. If more than one player wants it, dice are rolled and the item goes to the highest roll. If you do not decide in time, you are counted as having passed. A victory also drops stones prized in crafting.
How you behave inside a party is being recorded. Calling Need on everything, fleeing a raid, leaving your friends in the lurch — none of it shows on screen as a number, but it decides the fork in the road that opens at level 50. See the Class Tree for the details.
Joining a raid
Raids open at set hours every day, and you get one entry per window. When you join, a waiting room greets you; if the party does not fill up in a short while, the empty seats are filled and the fight begins. Outside those hours you can use an item called the Monster Stone to invite your friends and open a private raid of your own — that does not spend your daily entry.
Arena
Sixteen fighters, one champion.
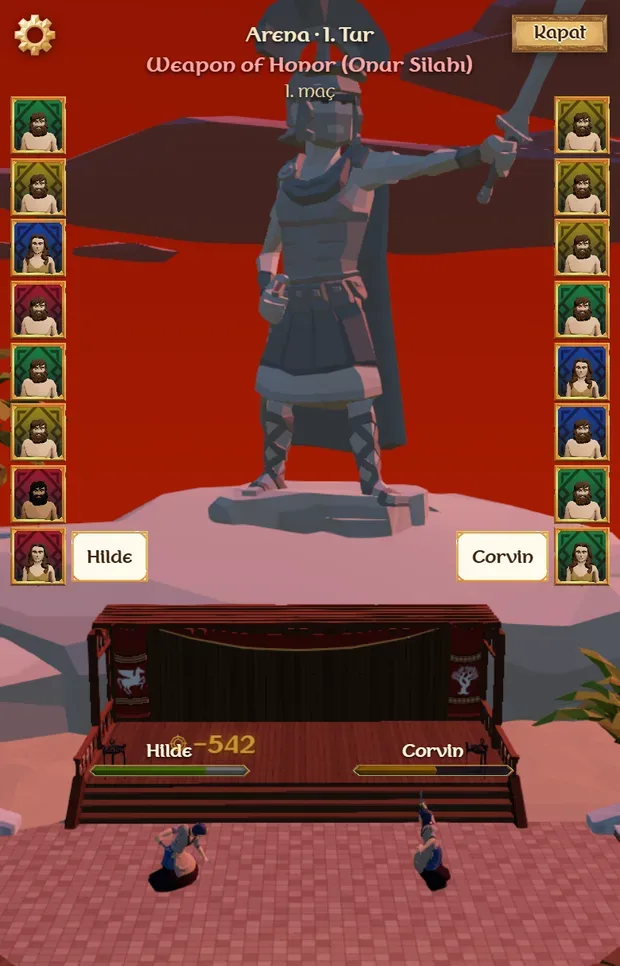
The Arena is the game's PvP tournament and unlocks at level 10. Three tournaments are held every day; sign-ups open an hour before each one. Players are split into groups of sixteen and bots fill any empty places. The fights play out on their own, and you can watch every match in your group live.
Three kinds of tournament
- 13:00 · All Random — everyone starts at the same level with no gear. You roll five dice: four decide the rarity of your armour and weapon, the fifth your attack power.
- 18:00 · Weapon of Honor — equal levels, equal gear: everyone fights with the same kit. You roll twelve dice; each one strengthens or weakens one of your stats.
- 23:00 · For Glory — you fight with your own gear and your own power. Players are matched in five-level brackets; the gear you wear when the tournament starts is what counts.
In Weapon of Honor the twelve dice form four sets of three, and you decide which set fights in which round. Your rivals cannot see your order. The family that masters the day's weapon gets 10% more power from it.
The champion
The tournament champion wins 50 gold and an Epic or Legendary item at their own level. The prize arrives in the inventory when the tournament ends.
Weekly rankings
Tap the trophy on the tournament screen to see the week's rankings. Each kind of tournament has its own list, reset at midnight on Sunday. A title is worth 16 points, a final 12, a semi-final 8, a quarter-final 4 and the first round 1. The week's top 10 win gold and Arena Tokens; the top three also receive Legendary Chests.
Arena Tokens and the Arena Merchant
Every tournament you enter gives 3 Arena Tokens; each round you win gives 3 more, and the title 5 more. Tokens are spent at the Arena Merchant, which sells four Legendary items that change every day, plus crafting materials. They are level 1, and you upgrade them by crafting. Tokens are earned only in the Arena; they cannot be bought or traded.
Fifteen minutes before a tournament your group is filled with bots and predictions open. Pick who will win your group and stake 1-10 tokens; predictions close two minutes before the start. Popular picks pay less, and whoever calls a surprise alone wins more.
Skills
Ways of reaching into the question.
Every class has a skill that touches the question directly. Skills can be used a limited number of times per run, and picking the right moment is the real craft of the game.
Removes two of the wrong options in front of you.

Removes two wrong options; the advanced form of Slash, with more uses.

Swaps the question for another one of the same difficulty.
Swaps the question for one a tier easier. If it is already the easiest, you are counted as having answered it correctly.

The right to mark two different options on the same question.
The advanced form of Strike; two options each on two separate questions.
Swallows one mistake: in the dungeon your loot quality does not drop, in exploration you lose no health.

The advanced form of Aura; you also begin exploration with a health potion.
The skills above work in the dungeon and in exploration. The skills you earn after level 50 work only in the raid; in the dungeon and in exploration your hero carries on using their own family's skill.
Class Tree
Four families, two transformations, eight endings.
Your hero transforms twice over a lifetime. At level 30 they rise to the next step of their family; at level 50 a fork appears in the road and splits into two different endings.
This choice is not yours alone. How you have treated other players — how you shared the loot, whether you left your party behind — decides which way your soul leans. If you have stayed balanced, both roads are open and the choice is yours; if you have drifted too far one way, only that road opens.
This leaning is never shown anywhere as a number. You only find out how close you came when you reach the fork.
Raid skills arrive from level 30 onwards — the classes on the first step have no raid skill of their own.
The Warrior Family
Built on brute force and on striking options away.
Warrior
Slash — removes two wrong options.
Berserker
Rage — removes two wrong options, with more uses.

Holy Paladin
Shine (raid) — brings back your teammates' spent skills.
Fallen Paladin
Corrupted Shine (raid) — takes the skills of your fallen companions onto your own bar.
The Mage Family
If they do not like the question, they change it.
Mage
Again — swaps the question for another of the same difficulty.
Wizard
Reduce — brings the question down a difficulty tier.
Sorcerer
Initiative (raid) — removes two wrong options; teammates who voted for them get to vote again.
Warlock
Corrupted Initiative (raid) — your vote counts as three; you can turn a vote on your own.
The Ranger Family
Uses two chances at once, and sees the road ahead.
Ranger
Strike — the right to mark two options on the same question.
Rogue
Double Strike — two options each on two separate questions.

Pathfinder
Deathmark (raid) — the party's next blow is a guaranteed critical.
In exploration they also see the type of the next room.
Assassin
Corrupted Deathmark (raid, passive) — the party hits harder for the whole raid, but everyone's maximum health drops.
The Herbalist Family
Swallows mistakes and lifts the fallen.
Herbalist
Aura (passive) — swallows one mistake.
Healer
Divine Shield (passive) — swallows more mistakes, and starts exploration with a health potion.
In the raid: cancels the next boss damage the party would take, in full.
Resurrectionist
Rise (raid) — raises all your fallen companions at half health. You cannot use it while dead yourself.
Necromancer
Corrupted Rise (raid) — raises the fallen at full health, but those raised begin to waste away each turn.
The dark road does not mean playing "evil" and the bright one does not mean playing "good" — both are strong, they simply do different things. The bright branches lean towards keeping the party standing; the dark ones towards hitting harder at a price.
Equipment
Every piece on your hero is a decision.
Your hero has fifteen equipment slots: head, face, chest, shoulder, bracers, gloves, trousers, boots, cape, the four sides of the waist, weapon and off-hand. Every piece you put on changes both your stats and your look — the hero you meet in the dungeon really is wearing what you equipped.
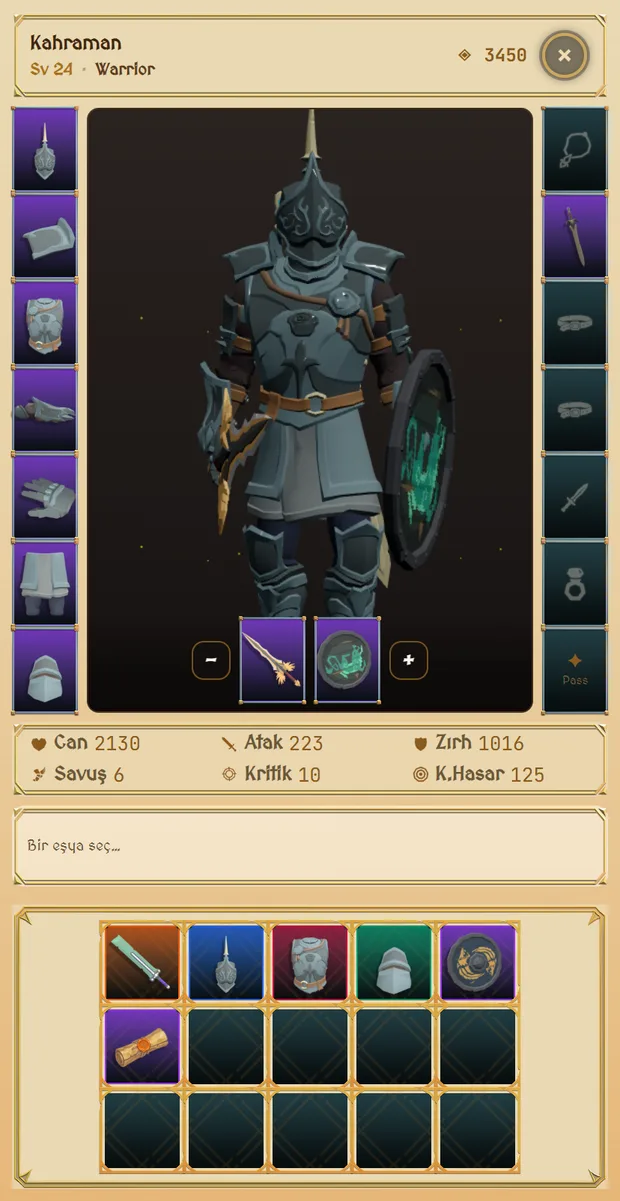
Rarity
Items come in six tiers. The colour tells you the quality at a glance.
| Tier | |
|---|---|
| Common | Starting equipment |
| Uncommon | Your first real upgrades |
| Rare | Worth hunting for |
| Epic | A visible jump |
| Legendary | Hard to come by |
| Artifact | The very top of the game |
Artifact items cannot be bought. They drop only from bosses and from special chests; no merchant sells them. And unlike ordinary items they carry hidden properties of their own — life steal, an extra skill use, a bigger sack, and the like.
Sets
Some items belong together. Equip enough pieces from the same set and a set bonus opens, adding power on top of what the pieces give individually. Sets come in steps: more pieces, more bonus.
Inventory
Your bag has limited room. When it is full, new loot falls to the ground, so a clear-out now and then is needed. Items you have no use for can be sold to a merchant and turned into silver.
In the tavern, next to your bag, there is also a stash: put the items you want to keep there. Tap an item to see in green and red how your stats would change if you equipped it.
Crafting
Grow the gear you love along with you.
The Craft Bench in the tavern raises an item's level. Each upgrade moves the item a few levels forward, but never past your own level. Stats scale up in proportion, so a good drop stays good after the upgrade. Common items cannot be upgraded.
Every upgrade costs crafting materials and gold; the price grows with the item's level and rarity. There is also a button that raises an item to your level in a single press.
Crafting materials
| Material | Where it is needed |
|---|---|
| Jade Dust | Low-level upgrades |
| Opal Dust | Mid and high levels |
| Moon Stone | Mid levels of legendary and artifact items |
| Sun Stone | The highest levels |
| Black Stone | Raises the success chance of a risky upgrade |
Dusts drop from dungeon and exploration monsters, stones from raids. Materials stack in your bag; if your bag is full, they go to your stash.
Upgrades at the highest levels are risky: if one fails, the item burns. If it succeeds, the item's name gains a prefix and it shows that you forged it.
Merchants
Where your silver becomes useful.
A merchant waits in the tavern. You can buy equipment and consumables from them and sell what is in your bag. Their stock refreshes over time.
The Skill Trader you meet during exploration is a different matter: what is sold there are run-specific skills and single-use items. Prices vary from trader to trader, and some sell cheaper than others.
The game has two coins: silver and gold; 100 silver make 1 gold. Rewards and sales pay silver. At the Merchant's Banker tab you buy 1 gold for 130 silver and get 90 silver back when you exchange it. Gold is spent on crafting upgrades and guild donations.
The lobby Auction House is where players trade with each other (it opens at level 3). You can swap gold and silver at a rate you set, and list crafting materials and items for gold. A listing stays open for 12, 24 or 48 hours; payment for a sale and the return of anything unsold arrive in your Mail.
Consumable items
These are not equipped, they are used. They take up room in your bag.
| Item | What it does |
|---|---|
| Health Potion | Refills your health during exploration. |
| Thief's Lamp | Lets you see the type of the rooms on the map. |
| Escape Scroll | Use it to leave safely with your loot. |
| Multiplier Die | Increases the effect of the health potion. |
| Renaming Scroll | Changes your hero's name. |
| Secret Quest Scroll | Opens a new secret quest card. |
| Legendary Chest | Gives a random piece of loot. |
| Monster Stone | Opens a private raid with your friends. |
Quests
A way to earn something every day.
Daily Quests
A few quests are set before you each day: finish a dungeon, go out exploring, bring down a monster, and so on. Each quest pays gold; once they are all done, tap the chest in the quest panel to claim your experience and chest reward. The quests refresh at the start of the day.
Secret Quests
Secret quests arrive as a card, and the card holds several quests independent of one another. These are not daily; you complete them in your own time. Each quest has its own reward, and you have to claim it by hand — it does not arrive on its own.
Finishing an entire card is rewarded on top of that. You can use a Secret Quest Scroll to open a new card.
Season
A race that starts over every three months.
The game is divided into seasons, and each season runs for one turn of the weather. Every run you play during a season earns you season points; as the points build up, tiers unlock and a reward waits at each one.
There are two reward tracks: the free one, open to everyone, and the privileged track unlocked by the Adventurer Pass. Players with the pass refill their energy faster, earn more experience and receive more quests each day.
When the season ends, the tiers reset and a new reward road opens.
The rewards of the tiers you unlock do not drop into your bag by themselves — you have to claim each one. Do not forget to collect them before the season ends.
Social
The parts you do not play alone.
Friends
You can add friends by searching for their name. You can invite friends to a raid and view their profiles.
Guild
You can found a guild of your own or apply to an existing one — joining depends on the management's approval. Guilds have three ranks: leader, officer and member. Leaders and officers review applications, invite players and write on the announcement board.
Guilds compete with one another: the points their members gather make up the guild's score and set its place in the guild rankings.
Members raise their guild's level by donating gold. The guild level is shown as a bar whose colour changes with every new level — starting from grey and following the item rarity colours all the way to artifact. Donations are final.
Duel
During exploration you may come across the trace of another adventurer. This is not a real-time fight — your opponent does not need to be online. Even so, you face a real hero with their real equipment.
Rankings
You earn points from your correct answers, and those points carry you onto the global leaderboard. Only runs played online count towards the rankings.